Editing PPL
Mosquito Authority Templates

Everything you'll need to customize template sites

Introduction

Getting Started

Kallyas is a great Wordpress theme with a ton of options. The theme has great documentation and if you ever find yourself stuck on anything each element has a Help tab, that offers both written and video documentation for making edits. You will make the majority of your edits using the Kallyas Pagebuilder.

Accessing Pagebuilder:

  • Sign in to the Wordpress admin
  • Go the page you wish to edit either through the backend or the frontend of the page
  • Click "Edit with Pagebuilder"

The page will then reload and you will be able to hover over any elements you wish to edit. Hover over an element and click the gear icon to make edits.

Editing Text anywhere on the site

Editing text

When hovering over text in Pagebuilder always look for the blue or teal popups and click the gear icon. The text will either be a button, text field, heading, title etc, but all are edited the same way: by clicking the gear, making edits then saving.

Easily select tags

When making edits to heading elements you will also see a section to select what type of tag you want to use for the heading.

Do a search (ctrl + F) on each page for "LocationX" and "888 555-5555" to find all instances of areas and phone numbers that require an edit.

Editing the Header

Logo

Kallyas Options/General Options/Header - Logo Options

Menu

Dashboard/Appearance/Menu
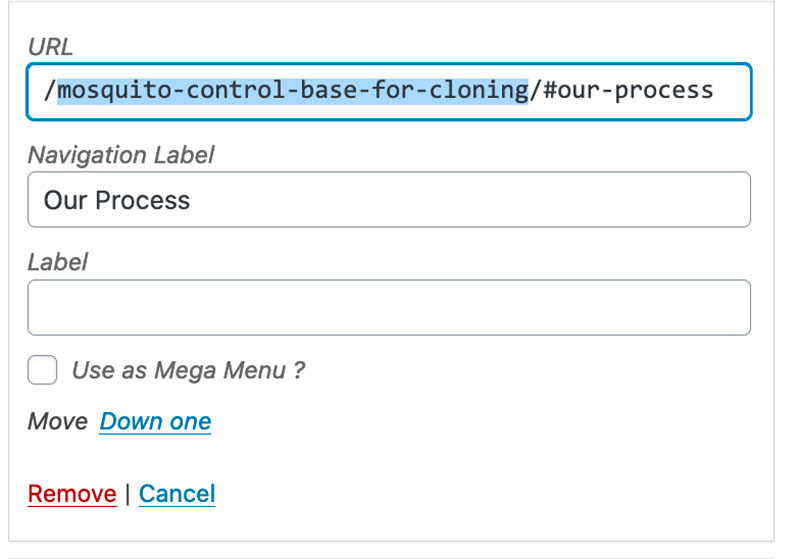
Any menu item that has a custom link you will need to edit to match the location.

The highlighted (blue) text will need to be changed to match the location URL. For example, if the location is bugsbite.com/mosquito-control-richmond then the custom URL should be /mosquito-control-richmond/#our-process

Location

Kallyas Options/General Options scroll down to Custom Text in Header

CTA

Kallyas Options/General Options/Header - Call to action

Both CTA buttons will require edits. For the phone number be sure to change both the button label and URL to the client's phone number. Be sure to omit the spaces in the phone number for the link.

For the Specials CTA be sure to edit the link to match the location. For example if the site URL is bugsbite.com/mosquito-control-richmond then the Special CTA should be /mosquito-control-richmond/#contact

Editing the hero
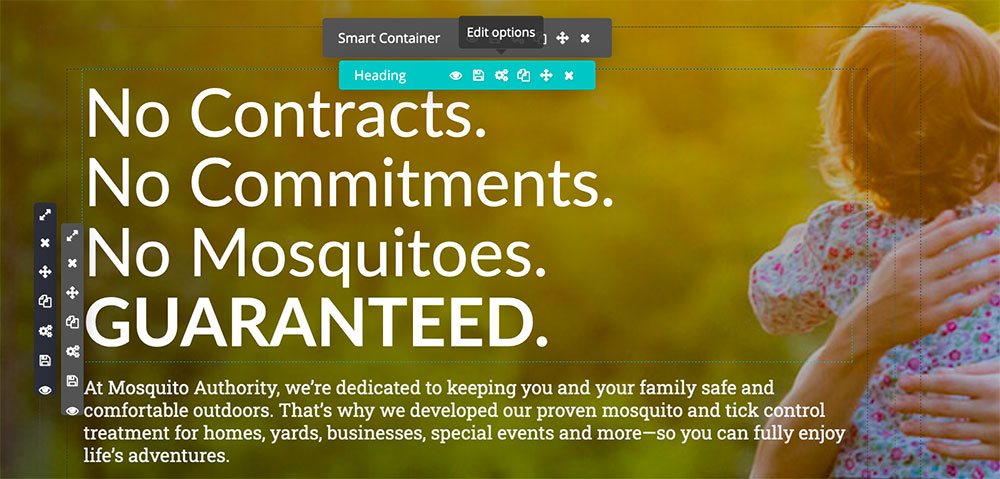
The service areas are edited by hovering over the element, clicking the gear then edit the text.

Remember to save your element changes and to publish often.

Editing the Service areas

The service areas are edited by hovering over the icon box element then clicking the gear then edit the text.

Editing the offer section

The offer area is edited by hovering over the element, clicking the gear for the heading element and then making an edit to the text and link for the button.
Be sure to also edit the button to ensure it's going to the correct location.
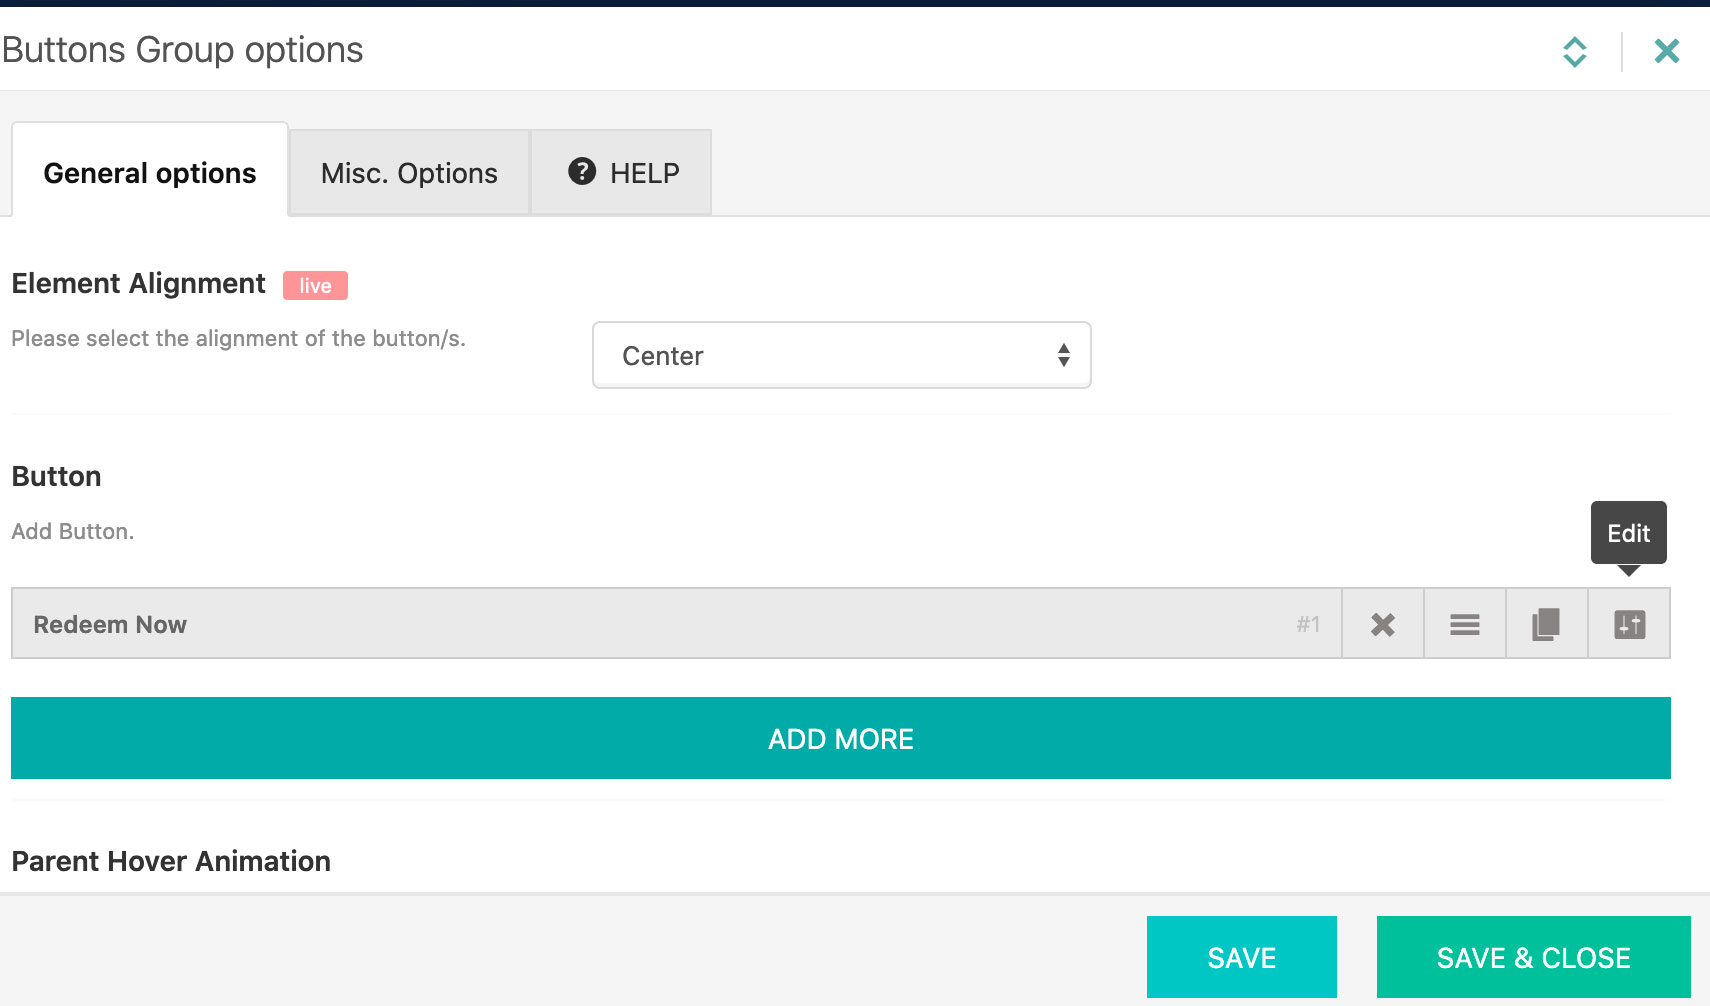
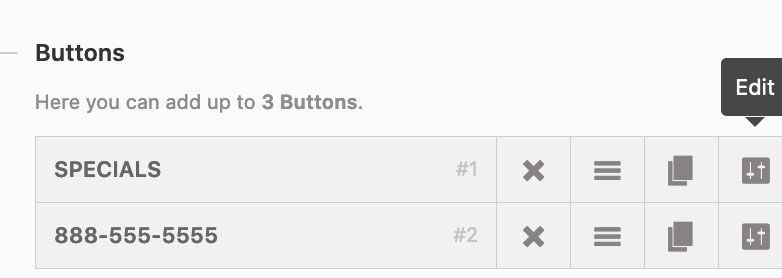
Hover the button then click the gear to edit. You will then see this box. Click the edit button for the button you want to edit. In this case there is only one.
Here you can set what the button label is and of course edit the link. Make sure to link to the local site you are building. You can enter this yourself or click to the 'Add Internal Link' button and select the appropriate page, which for this button would be 'contact'.

For example, if the location is bugsbite.com/mosquito-control-richmond then the custom URL should be /mosquito-control-richmond/contact

Remember to save your element changes and to publish often.

Editing the Home Page Call to action

This call to action section button is edited by hovering over the button element, clicking the gear so that you can edit to the text and link for the button.
Be sure to also edit the button to ensure it's going to the correct location.

For example, if the location is bugsbite.com/mosquito-control-richmond then the custom URL should be /mosquito-control-richmond/contact

Editing the Tick Section

Not applicable to all sites. Only for franchisees that offer both services
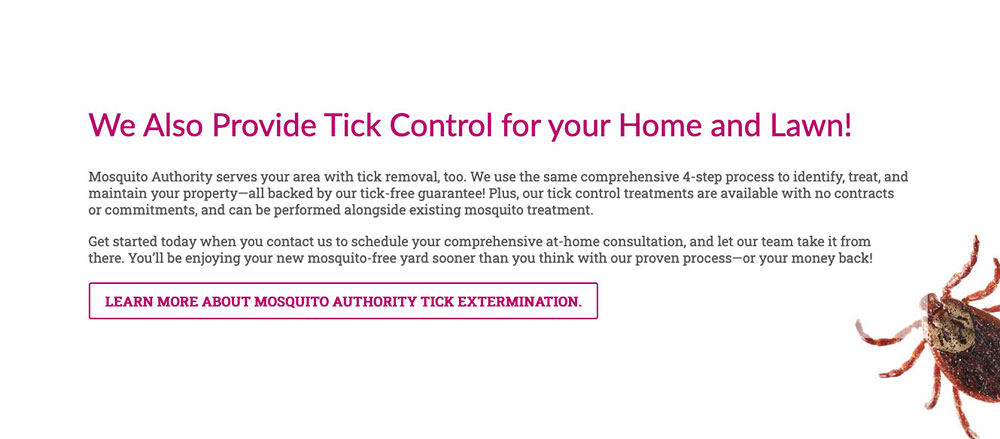
You will need to edit the button in this section by hovering over the button element, clicking the gear so that you can edit to the text and link for the button.
Be sure to also edit the button to ensure it's going to the correct location.

For example, if the location is bugsbite.com/mosquito-control-richmond then the custom URL should be /mosquito-control-richmond/tick-control

Remember to save your element changes and to publish often.

Editing Testimonials
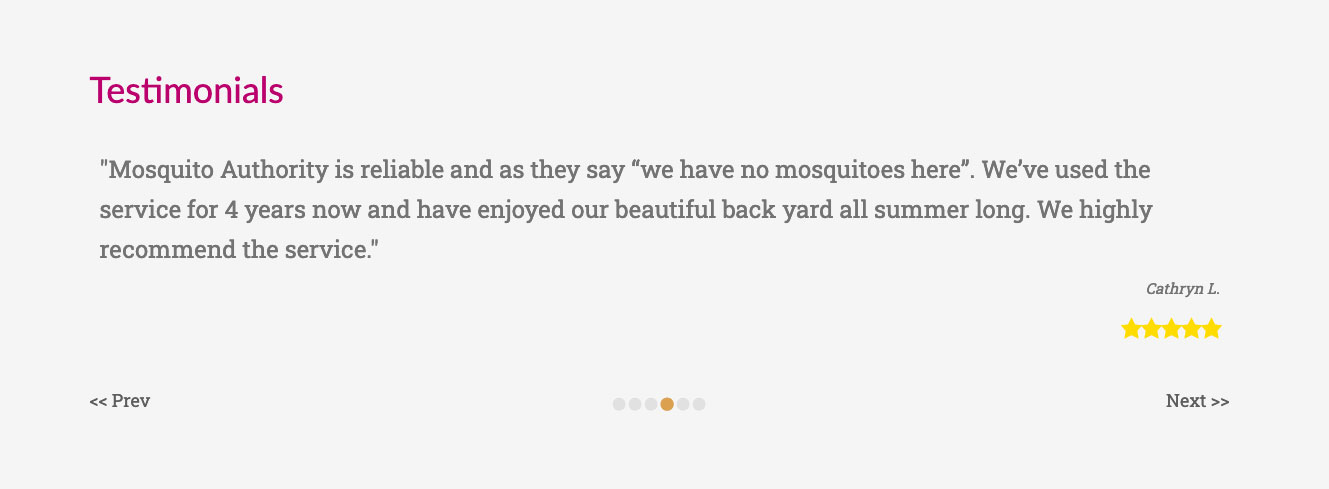
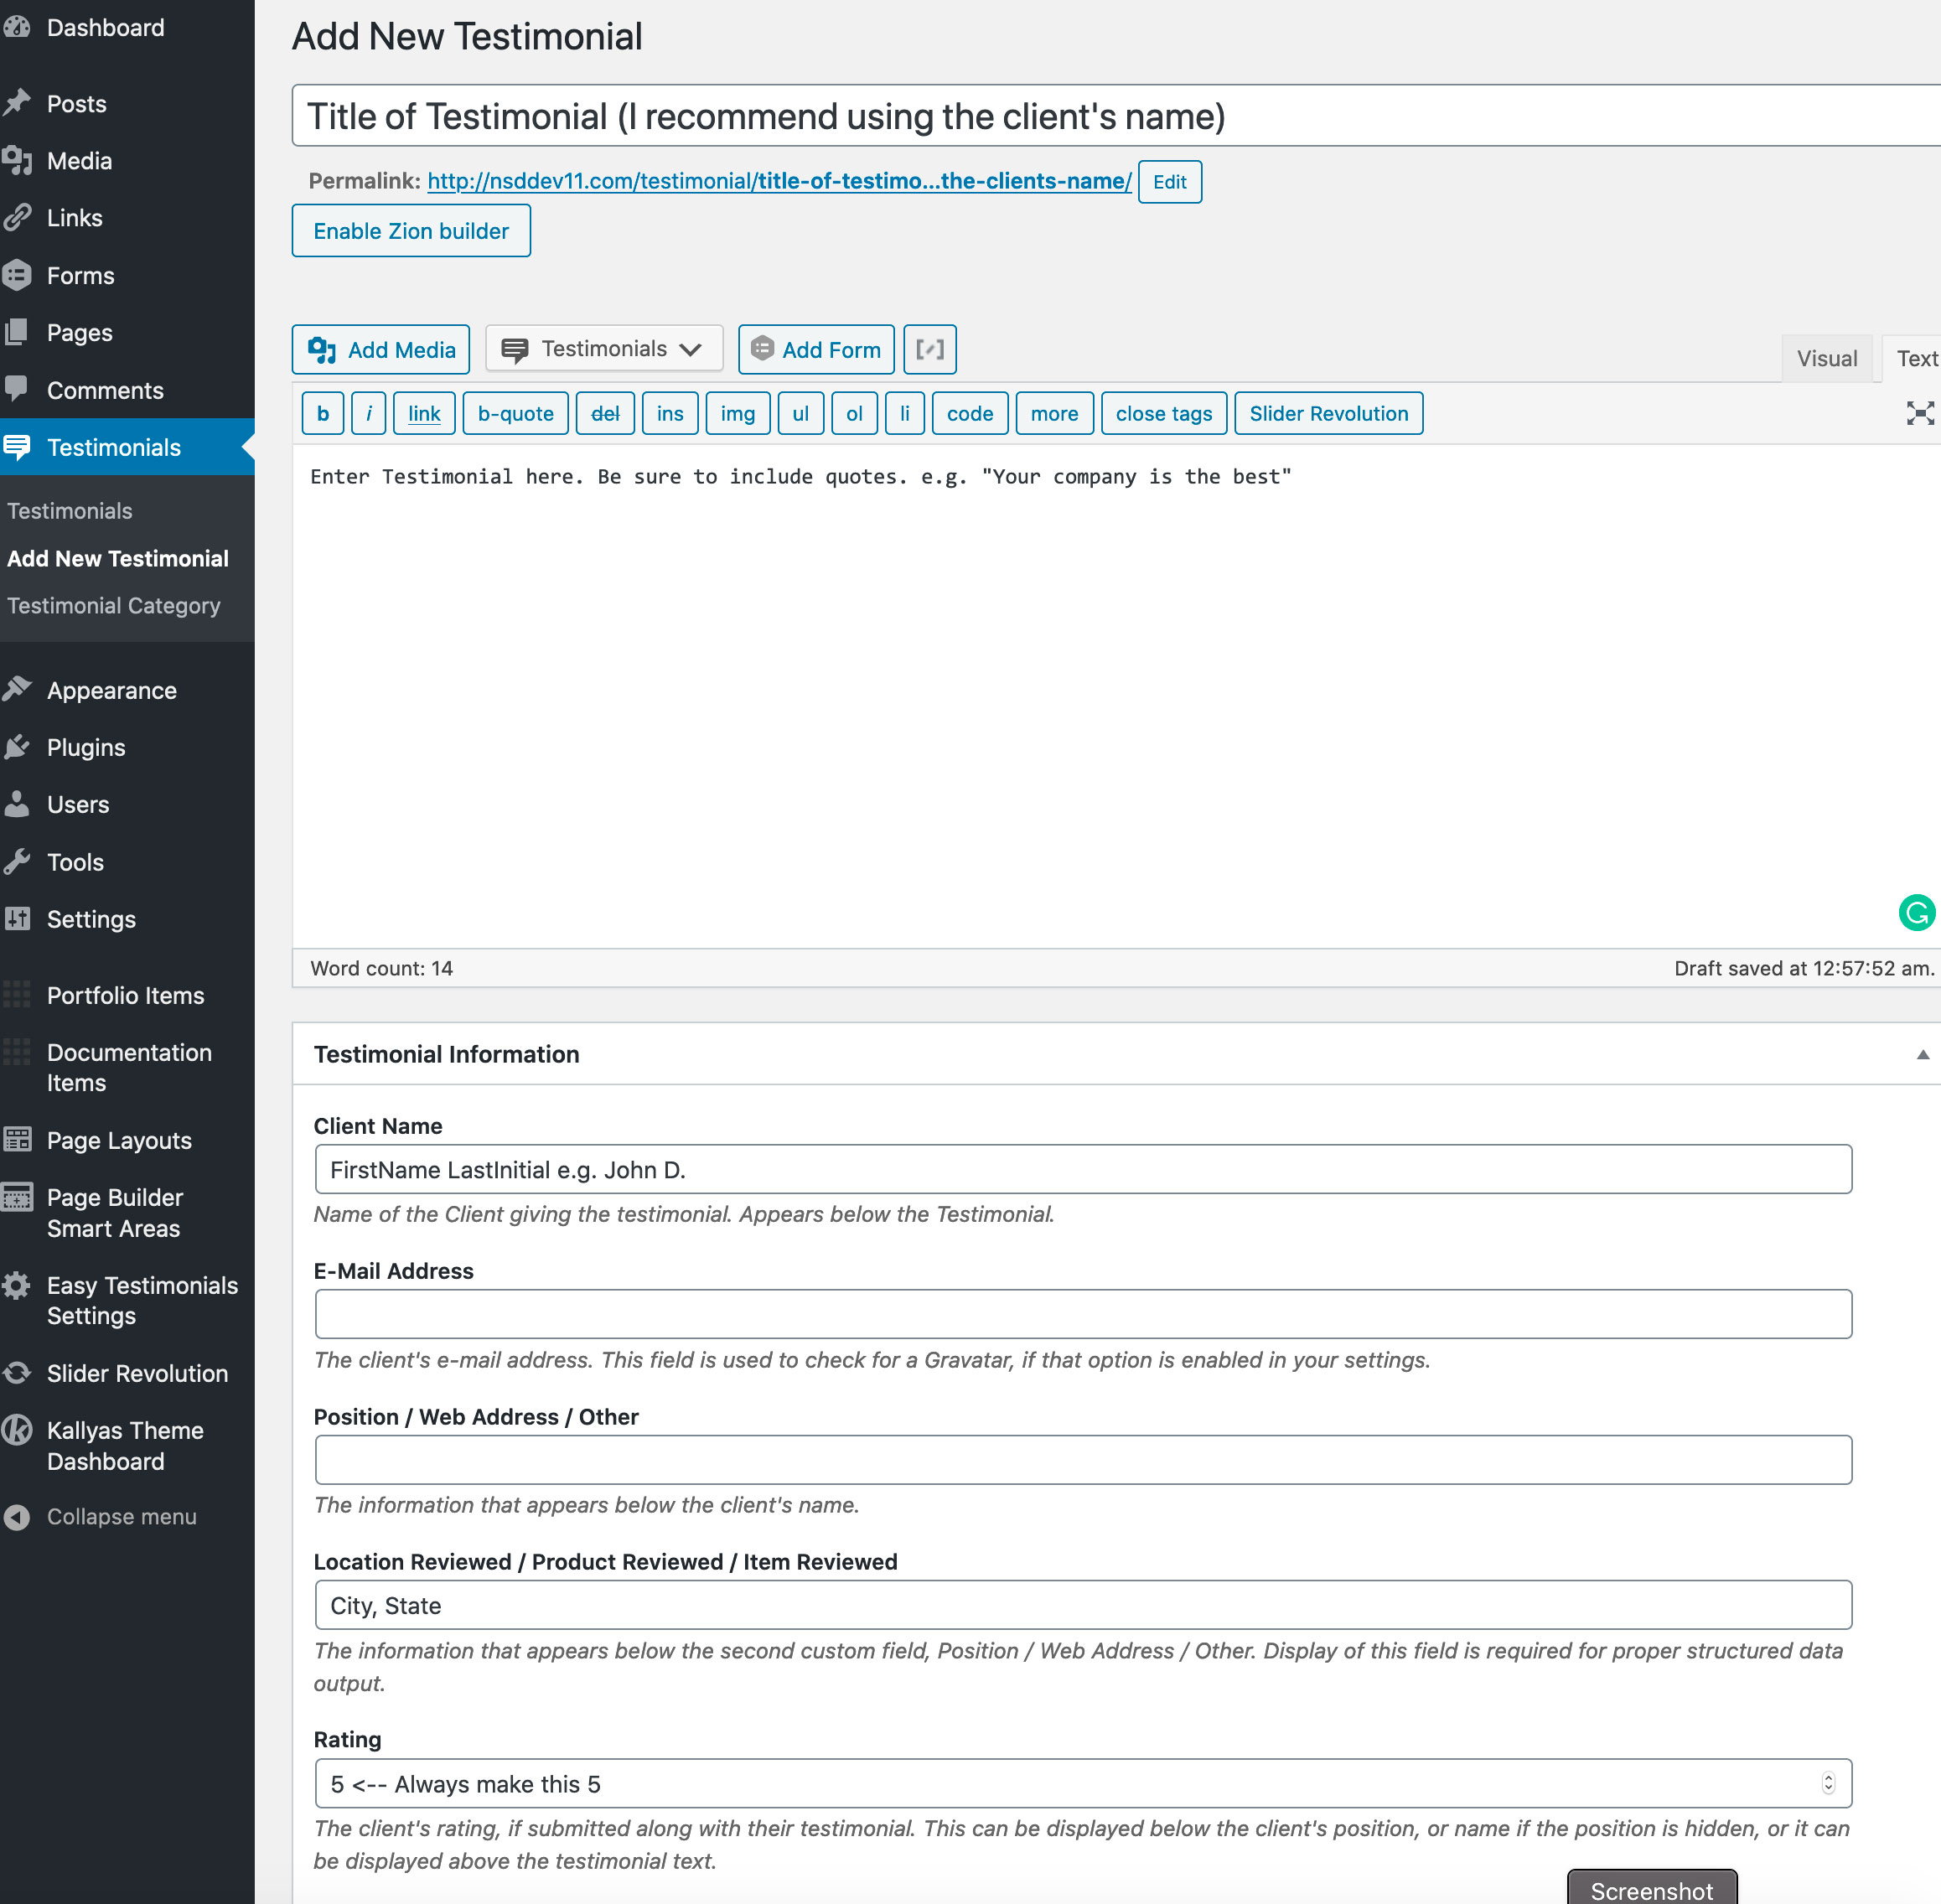
To edit the testimonials that appear in this section you will need to go to Dashboard/Testimonials. In this section you can add or edit existing testimonials. I have provided a screenshot of that section below with recommendations for the required fields.

Please note: Testimonials only appear on the home page but they are a global element. Meaning any changes done here will affect anywhere they appear on the site.
Editing Floating Call-to-Action Button

Editing the floating call-to-action button is easy as long as you use the correct URL.
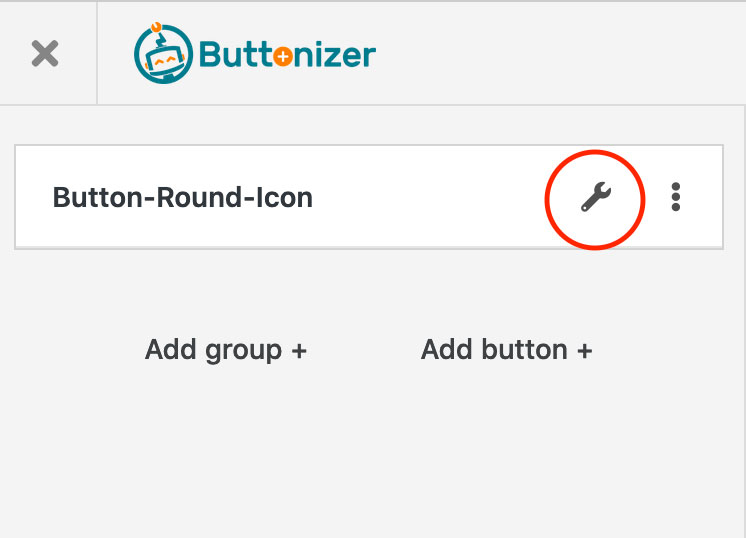
Start by hovering over the 'Buttonizer 2.0' link found in the top admin bar, then clicking 'Buttons'.
Then click the wrench icon.
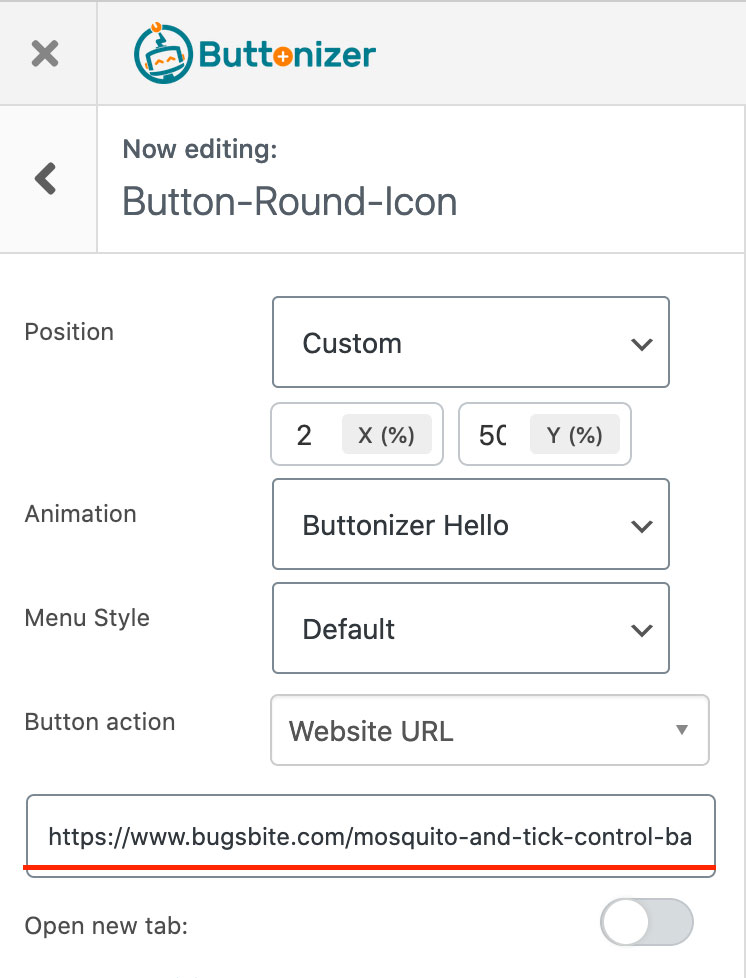
Edit the button URL to match the Mosquito Authority you are editing. For example if the site URL is bugsbite.com/mosquito-control-richmond then the button URL would be /mosquito-control-richmond/contact. After the URL has been updated click 'Save & Publish' in the upper right corner and check your work.

Editing Forms

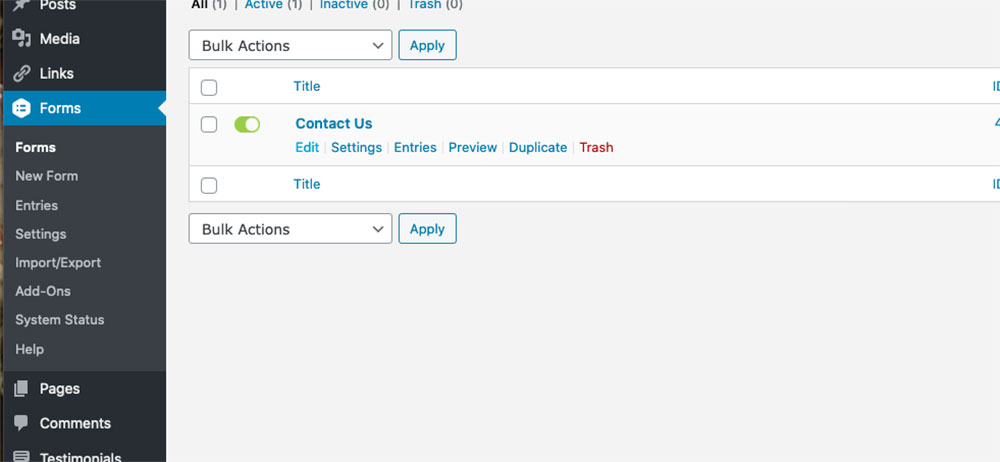
Start by going to Dashboard/Forms then clicking edit under the form.
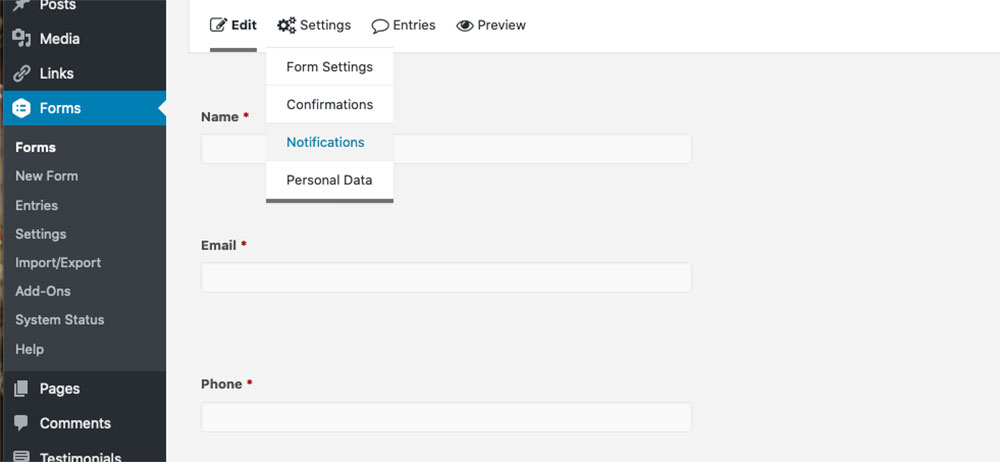
Then go to Settings/Notifications. This is where you set who will receive the forms.
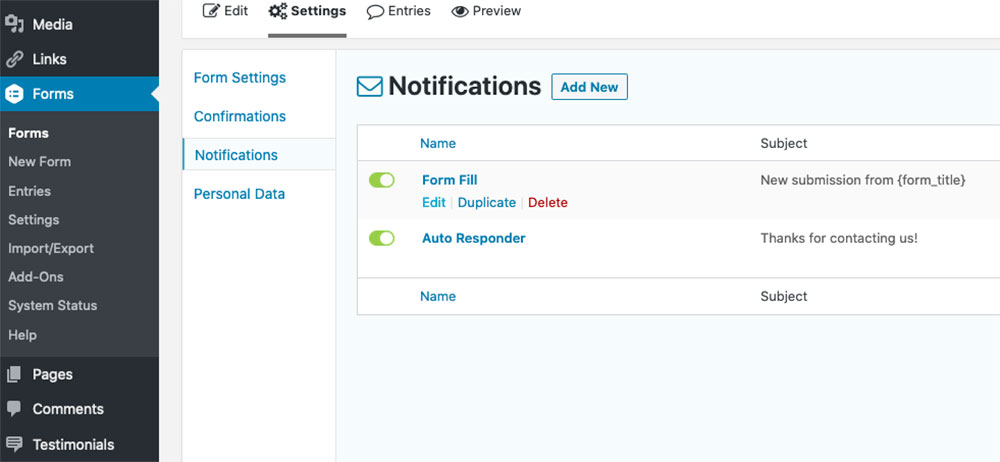
You will see two options. The auto responder is what is automatically sent to the form sender. The first notification (Form Fill) is what you will need to edit. Hover and select edit.
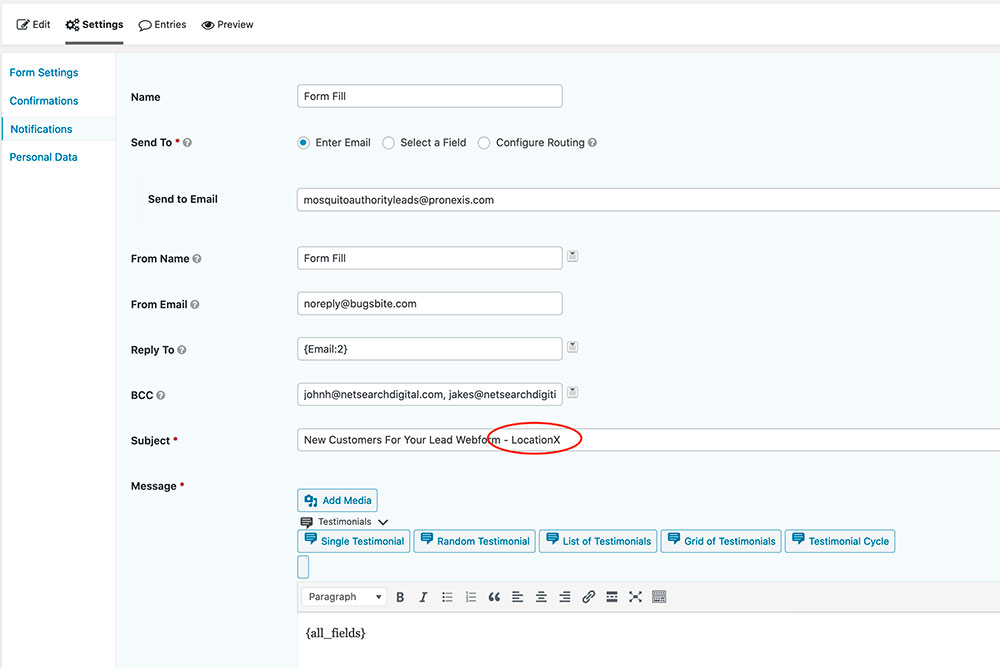
Edit the LocationX in the subject line to match the Mosquito Authority you are editing. If you need to add more emails be sure to separate them by commas.
From there to go Settings/Confirmations and make sure the form is going to the correct Thank You page.

Remember to test your form! This is very important.

Editing the Locations

Hover over the heading tag and look for the gear icon. From there change the LocationX to the correct location
Hover over the list items and look for the gear icon. From there change the LocationX to the correct location.

When creating new list items try cloning an existing list item. This will copy all of its attributes.

From any page hover over the footer. You will then notice a popup that says "Edit Smart Area with Pagebuilder". Click that and it will open in a new page. Once that page loads you will be able to edit each element by hovering over it like any other Pagebuilder element. Be sure to check all linked items are linked correctly. Once your edits are complete click 'Publish' in the lower right corner and you're done. The footer is now updated sitewide.

Remember to save the footer element changes and publish.

TOP